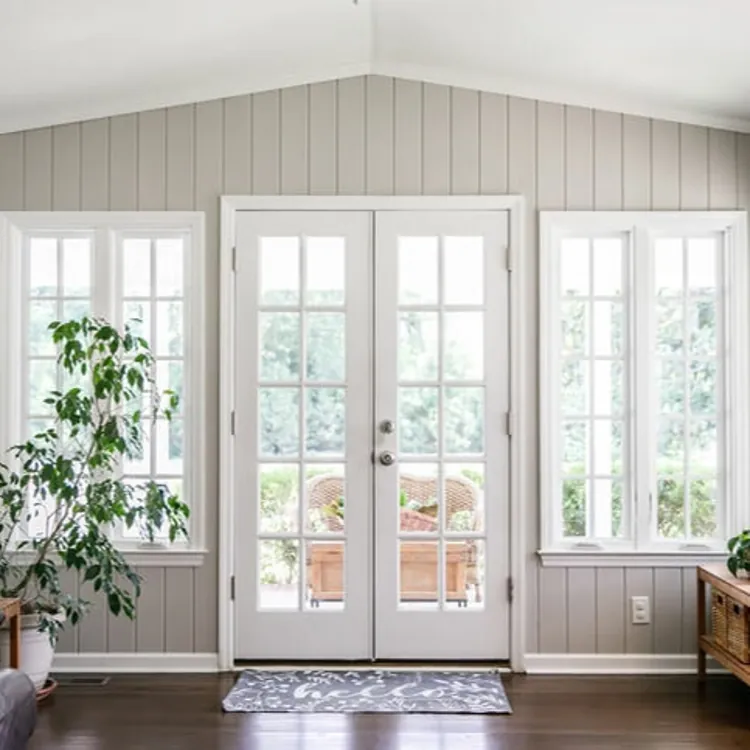


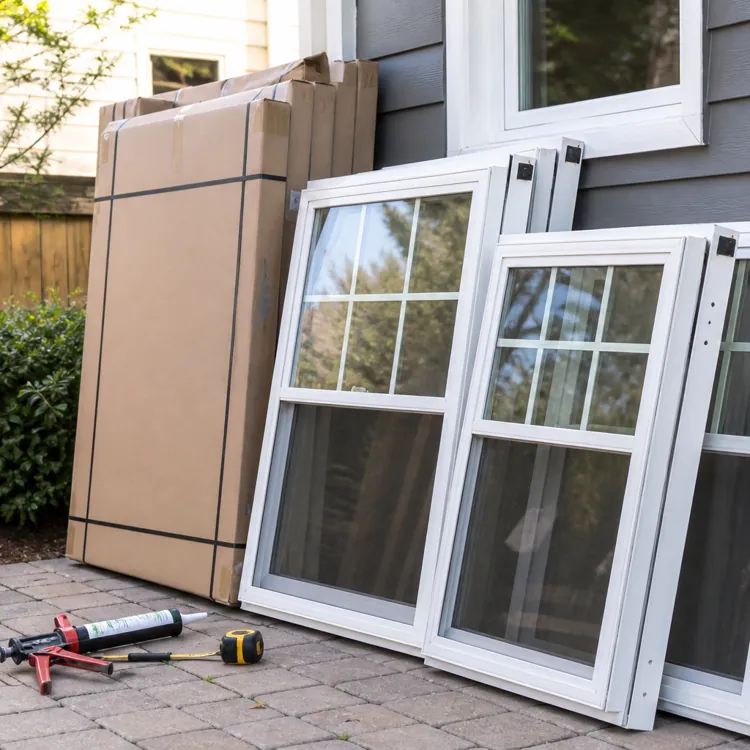
How to install a replacement window
Installing a replacement window requires precise measurements and careful sealing to prevent drafts and water leaks. The exact process varies by window type and manufacturer, so always follow the instructions included with your window. The steps below provide a general overview of a full-frame window replacement.
- Measure the rough opening: Measure the width and height of the opening inside the wall, not just the visible glass or trim. Take measurements in several places because the opening may not be perfectly square.
- Order the replacement window: Choose a window that is approximately 1/2 inch to 3/4 inch smaller than the rough opening. The extra space allows you to position the window so it is level, vertically straight and centered.
- Remove the old window: Cut through any paint or caulk around the trim before carefully removing it. Take out the movable glass panels, known as sashes, followed by the remaining window frame. Use caution around broken glass, nails and sharp edges.
- Clean and inspect the opening: Remove dust, old sealant and loose materials. Fill minor holes as needed. Stop and contact a professional if you find mold, rotted wood, water stains or structural damage.
- Test the fit: Place the new window in the opening, but don’t fasten it yet. Check that there is a small, even gap around the window and that it can sit level and straight. Remove it after confirming the fit.
- Install sill flashing: Flashing helps direct water away from the wall if moisture gets behind the window. Apply waterproof flashing along the bottom of the opening and extend it slightly up the sides.
- Position and fasten the window: Apply window sealant as directed by the manufacturer, then place the window in the opening. Use shims, which are thin wedges, to keep it level, vertically straight and square. Fasten the window through the manufacturer-designated holes without overtightening the screws.
- Flash and seal the exterior: Apply flashing around the sides and top of the window in the order specified by the manufacturer. Properly overlapping each piece helps direct water away from the opening rather than into the wall.
- Insulate and replace the trim: Fill the gap around the window with low-expansion window-and-door spray foam. Reinstall the interior and exterior trim, then caulk the appropriate joints to block air and water.
These steps apply generally to a full-frame replacement, which involves removing the existing window frame. A pocket replacement fits inside the existing frame and usually requires fewer removal and flashing steps.
DIY window installation vs. professional
Windows are a key part of your home’s defense against the elements, so it’s always best to hire a window installer to avoid air leaks, water leaks, pest infestation and other issues. However, you should always call a pro if any of the following apply to your situation.
- You’re replacing a window on the second story
- You’re replacing an oversized window that you can’t lift into place
- You suspect your existing window has water damage
- You’re changing the size of your window
- Your existing windows may have lead paint on them
- You can’t find a replacement window that’s the same size as your old one
- You’re replacing a skylight
A professional window installer can usually perform a window replacement in under an hour, even for larger windows. If you’re doing the work yourself, especially if it’s your first time, set aside four to six hours to be safe. Make sure there’s no rain or other inclement weather in the forecast.
» FIND THE RIGHT PROS: Questions to ask a window replacement contractor
Types of windows
The most important things to consider are the size and type of the window. If you’re doing the work yourself, always choose the same size window and never attempt to change the dimensions of the wall opening. This involves structural work that demands professional attention.
Common window styles
As far as window types go, you can choose what suits your needs, as the installation process is the same for all window styles. Here are some of the most common window types in modern homes:
- Double-hung window: Double-hung windows are the most common. They have two movable sashes, one on top and one on the bottom, that allow for ventilation and easy cleaning.
- Single-hung window: Single-hung windows are more affordable but less common. They have one fixed sash on top and one operable sash on the bottom. They’re harder to clean and provide less ventilation.
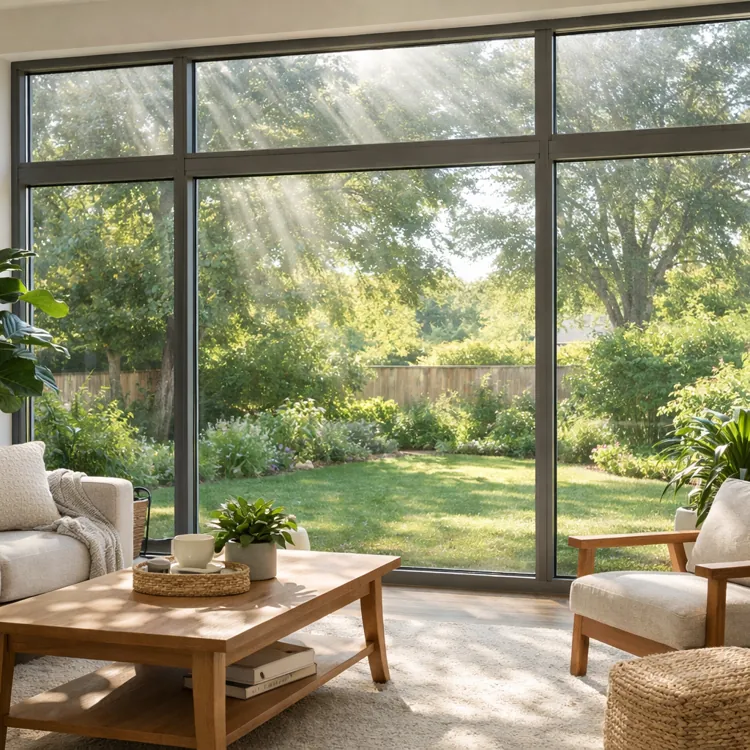
- Picture window: Picture windows are fixed windows with no movable sashes. They don’t offer ventilation, but since they don’t need rails around sashes, they offer maximum natural light and unimpeded views of the outdoors.
- Casement window: Casement windows are the most energy-efficient because the operable sash hinges outward and compresses weather stripping when it closes. They’re expensive due to the complicated opening mechanism, but they provide the natural light and views of a picture window, plus maximum ventilation. However, they open outward, so they’re not ideal over patios, decks or other outdoor gathering areas.
- Hopper window: Hopper windows are small, hinged windows that open inward, providing a small amount of light and ventilation. These are only common in basements and crawl spaces.
» COMPARE: Top-ranked window companies
Window frame materials
Most homeowners replacing a single window will just match the frame to other windows to maintain curb appeal. But if you’re replacing multiple windows, you might consider a different material. Make sure you consider your climate carefully when deciding on a frame material.
- Aluminum: Aluminum windows are among the most affordable, but they don’t provide the best energy efficiency. They can also dent from impact.
- Composite: Composite windows provide a good blend of energy efficiency and affordability. However, they’re more expensive than more common vinyl windows.
- Fiberglass: Fiberglass window frames offer maximum energy efficiency, but they’re among the most expensive windows.
- Vinyl: Vinyl windows are the most common, as they blend energy efficiency, affordability and longevity very well. Insulated vinyl frames are best for extremely hot or cold climates.
- Wood: Wood windows have a long lifespan and are the easiest to repair, but they can be as expensive as fiberglass windows. Wood windows dampen sound well, and they’re similar to vinyl in terms of energy efficiency.
Window frame material cost comparison
Window costs vary by frame material, with average prices ranging from $300 to $1,500.
| Frame material | Lifespan | Average cost | Pros | Cons |
|---|---|---|---|---|
| Aluminum | 15 to 20 years | $400 to $900 | Affordability | Poor energy efficiency |
| Composite | Varies | $600 to $1,200 | Energy efficiency | Expensive |
| Fiberglass | 20 to 40 years | $700 to $1,500 | Energy efficiency and longevity | Expensive |
| Vinyl | 20 to 40 years | $300 to $800 | Affordability, energy efficiency and longevity | Limited color options and non-luxury appearance |
| Wood | 30 years or more | $800 to $1,500 | Longevity, sound reduction and energy efficiency | Expensive |
How to prepare for window replacement
Preparing for window replacement starts with deciding whether the project is safe and manageable to complete yourself. Improper installation can cause drafts, water damage and reduced energy efficiency, so hiring a professional is the safest option when possible.
However, professional installation may not fit every homeowner’s budget. If you have home maintenance experience and feel confident replacing an accessible, standard-size window, gather the following tools, materials and safety equipment before getting started:
Tools
- Chisel or rigid paint scraper
- Oscillating saw with metal-cutting blade
- Hammer or pry bar
- Caulk gun
- Tape measure
- Power drill
- Utility knife
- Putty knife
- Shop vacuum
- Level
- Nail gun
- Finish nails
Materials
- Replacement window
- Sill flashing
- Window flashing
- Window shims
- Window sealant
- Caulk
- Wood putty
- New window trim
- Spray foam insulation
Safety equipment
- Safety glasses
- Work gloves
- Mask
Note that window replacements on the second floor will require a ladder, and replacements involving large or bulky windows may require a lift. In both cases, it’s best to hire a professional.
FAQ
How much does it cost to get a window installed?
The average cost to install a window is between $600 and $2,000. Your exact cost will depend on the size of the window, the frame and glass materials you choose and how accessible your window is. Prices can also vary based on the window’s brand, the local labor costs in your city and how many windows you’re replacing at once.
How do you replace a broken window pane?
Replacing a broken window pane demands help from a professional, especially because most modern windows have double-pane glass with an insulative gas sealed inside. Your pro will remove the broken pane and then install an insulated glass unit in its place, sealing around the edges to keep air and water out. In some cases, your pro may need to replace your entire window sash.
Is it cheaper to install windows yourself or hire a professional?
It’s almost always cheaper to install windows yourself. On average, between $360 and $1,200 per window goes toward installation labor.
However, mistakes during the installation process can lead to air gaps and water leaks that end up costing you more than you’d save initially. That’s why it’s usually worth hiring a professional to install your windows.
Why is proper flashing important when installing a window?
Proper flashing is crucial when installing windows because it’s the primary defense against water leaks. If you don’t flash from the bottom up and from the inside out, water can get behind the flashing and leak inside your home. This can potentially cause water damage, mold growth, insulation damage, pest infestation and even electrical fires.
Article sources
ConsumerAffairs writers primarily rely on government data, industry experts and original research from other reputable publications to inform their work. Specific sources for this article include:
- International Association of Certified Home Inspectors, “InterNACHI's Standard Estimated Life Expectancy Chart for Homes.” Accessed July 21, 2026.
- Pella Corporation, “Important Safety and Product Information – Window.” Accessed July 21, 2026.
- Argo Glass & Windows, “Best Window Materials: Pros & Cons Guide (2025).” Accessed July 21, 2026.
- Lowe's Home Improvement, “How to Install Replacement Windows.” Accessed July 21, 2026.
- Glass Doctor, “A Step-by-Step Window Replacement Guide.” Accessed July 21, 2026.
- Andersen Corporation, “How To Install Replacement Windows.” Accessed July 21, 2026.
- Pella Corporation, “The Ultimate Guide to the Window Replacement Process.” Accessed July 21, 2026.
- Penn State College of Earth and Mineral Sciences, “10.12 Frame and Spacer Materials for Windows.” Accessed July 21, 2026.