

How to install a security system in 5 steps
Installing your new security system from start to finish includes choosing equipment, activating monitoring plans, pairing devices with your network, mounting security cameras and testing the system. Many systems are designed for easy DIY installation, but more complex systems may require professional installation.
1. Plan your security system
Start by walking the property, noting points of entry, visual obstructions, potential sun glare and whether power is readily available. Set a realistic budget and whether you can add power or need to use a wireless system.
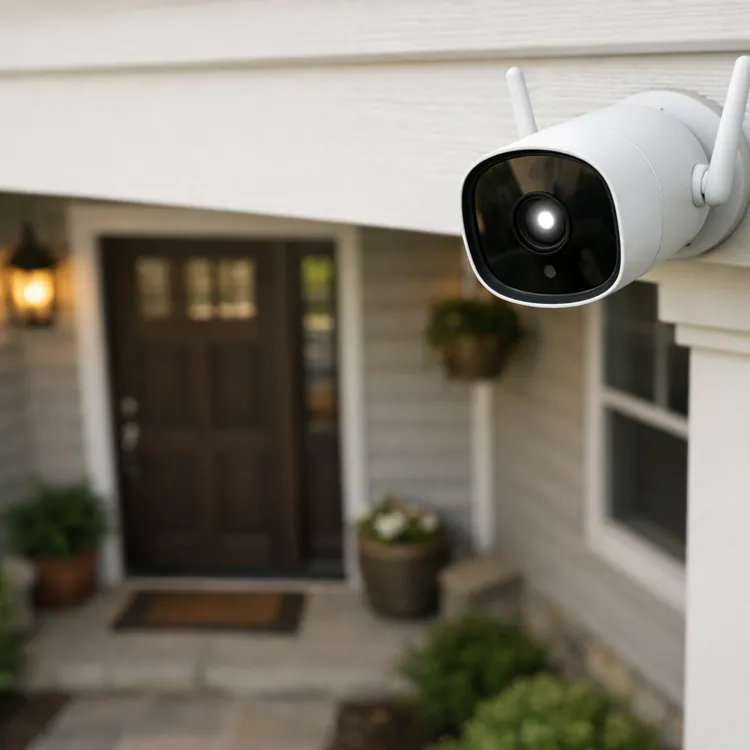
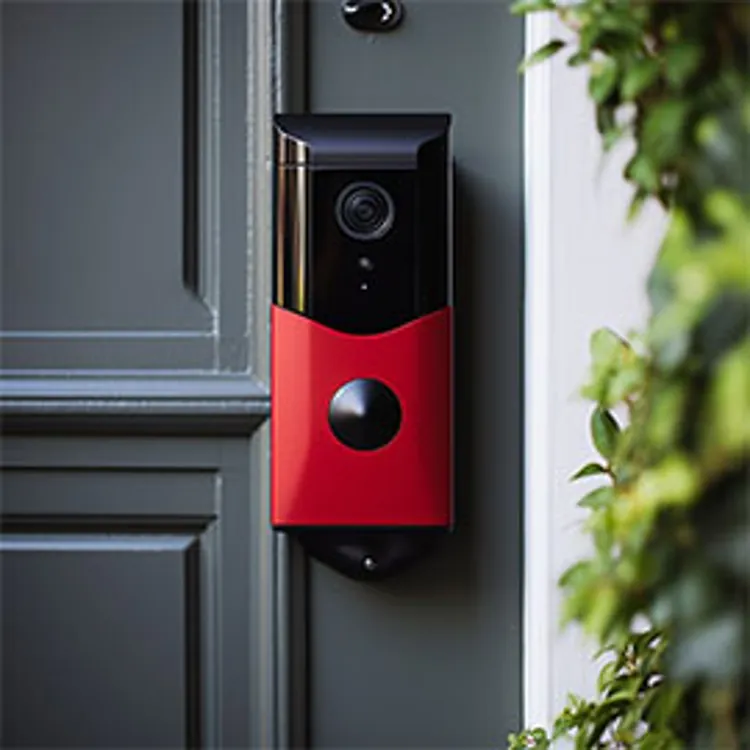
Map your property, noting ideal sensor, lighting and camera locations. Assign suitable cameras for each spot, such as a smart doorbell at the front door and a wide-angle camera for larger coverage areas like the back door, porch and windows.
2. Pair security devices and set up the network
Top outdoor security cameras, such as Arlo and Wyze, usually require you to activate and pair them before physically installing them. However, other systems put mounting before connectivity.
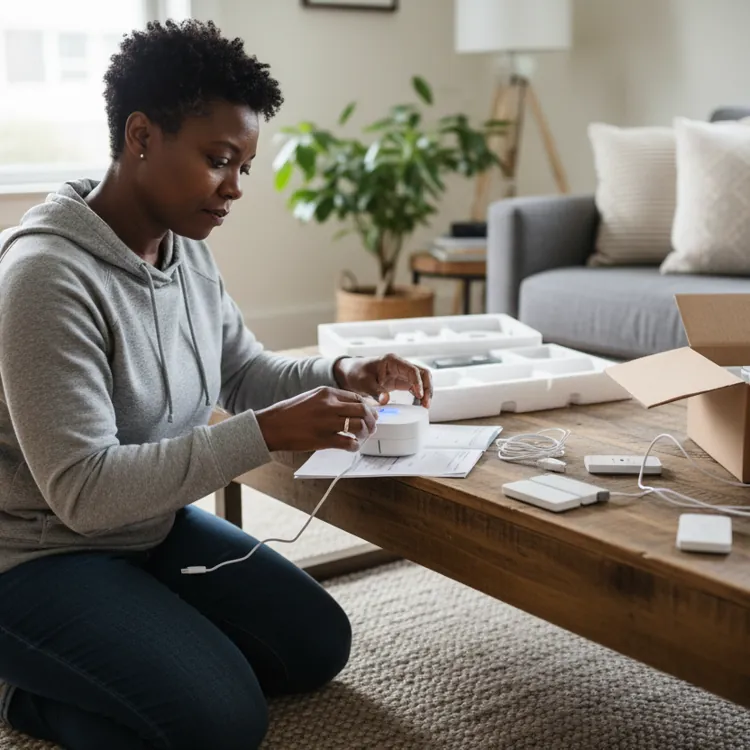
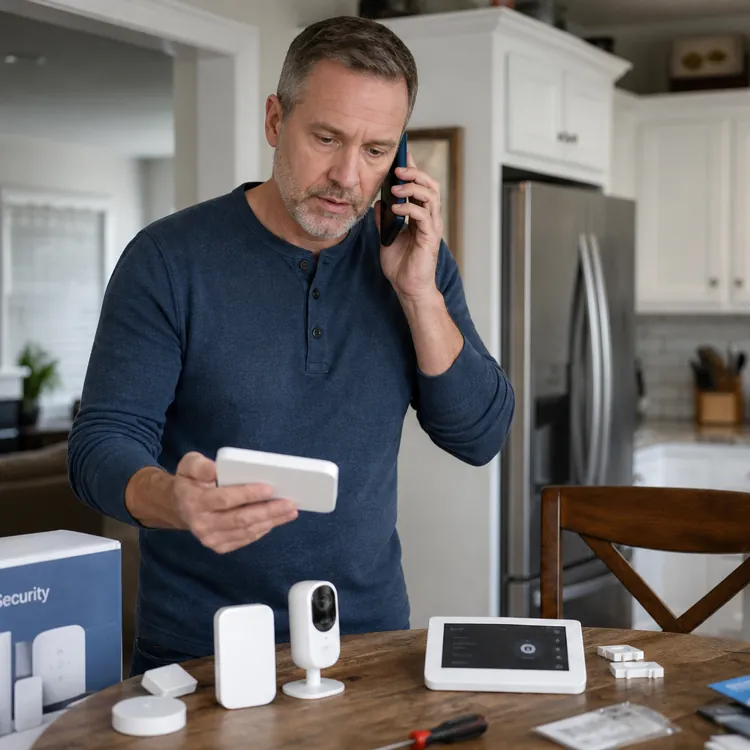
Pairing your devices and setting up the network are usually straightforward. Typically, you plug in the devices, create an account and/or download an app, log in and follow prompts to search for and add your devices. Of course, this will vary based on your specific security system.
3. Mount security cameras and devices
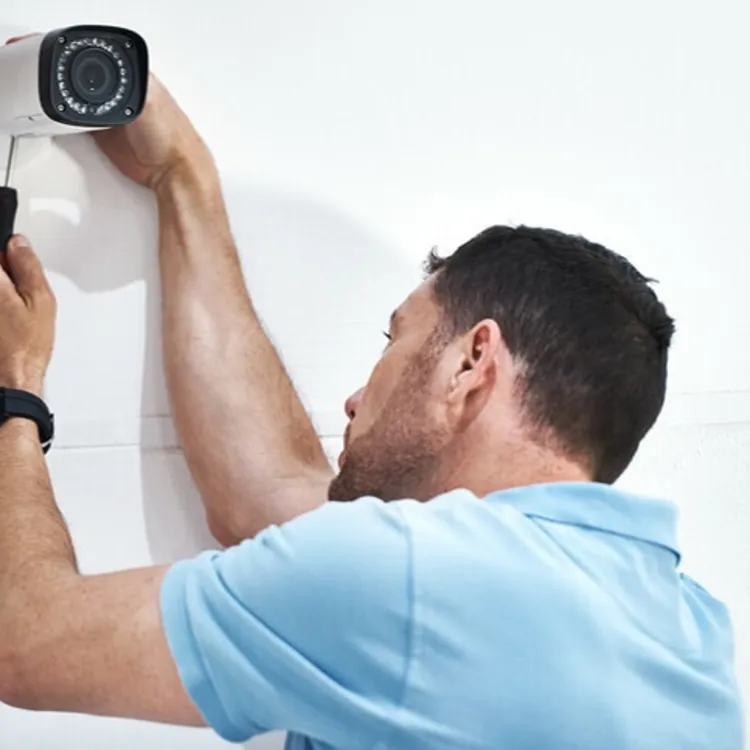
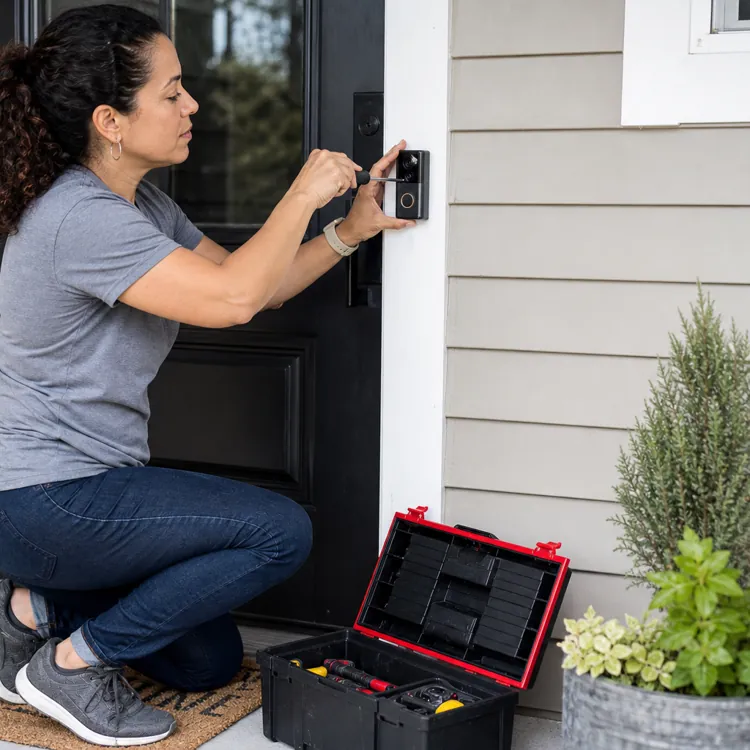
Modern DIY systems are user-friendly and often use screws or adhesive for mounting. Wired systems may require drilling and running wires if outlets aren’t nearby.
Mount peel-and-stick devices on clean, smooth surfaces. If you rent, talk to your landlord before installing any system.
4. Activate monitoring and alerts
Once everything is in place, set up your alert preferences and activate monitoring plans as needed. Some of the best DIY security systems offer options such as push notifications and text messages/SMS.
5. Test the system
Common testing errors include window sensors placed too far apart, lost connections and obstructions to sensors.
Test your security system by checking that all sensors and notifications work. If your system is professionally monitored or otherwise calls 911, notify the monitoring center before you start testing to avoid false alarms.
Trip each sensor one at a time and confirm that alerts are sent and received. Use the system’s test mode if one is available.
» COMPARE: Security system installation: DIY vs. professional (2026)
Choosing the right security system components for you
Picking a security system and its components isn’t one-size-fits-all. Security goals, available components, budget and installation needs all affect the best security choice.
For example, Ring and Vivint are both quality security products, but each has very different features and price points.
Installation limitations
If the system is too complex, installation can stall. Options range from peel-and-stick to rewiring parts of your home. Choose something that matches your skill level.
There’s a time and budget tradeoff in installation. Professional installation usually costs at least $99. A DIY system can take 30 minutes to a full afternoon to install. Plus, some security companies require professional installation.
DIY security system components and add-ons
Every security setup is different, and even the cheapest security systems vary widely in the components they include. Review your security plan and match component availability for the best outcome.
Core home security system components include:
- Control panel, hub or app: Security systems need a way to monitor, connect and control device settings. Simple systems only use an app for all functions. However, more advanced systems often include a keypad for arming/disarming, a hub that connects devices together and a central master control panel to handle command input.
- Entry sensors: Entry sensors are small devices that attach to doors and windows, and alert upon opening. Generally, they are two-piece designs that trigger when the two pieces are moved apart.
- Motion detectors: Available as separate units or as part of security cameras, motion detectors trigger alerts and activate cameras based on movement in their field of view. Some operate on visible light changes, while others operate on passive infrared (PIR) technology, which detects body heat to sense motion.
- Security cameras: These are the most common DIY home security devices, including smart doorbells. These cameras may record video continuously or have extra features such as motion detection and alerts, facial recognition, pan-tilt-zoom (PTZ) capabilities, infrared (IR) lighting for nighttime recording and two-way communication.
Optional add-on home security components include:
- Professional monitoring: Professional monitoring companies generally offer 24/7 monitoring for a monthly fee.
- Glass break detectors: These detectors work by picking up the sound or vibrations made by breaking glass. If a window is smashed, the detector triggers an alert.
- Environmental sensors: Often part of smart home packages, fire, carbon monoxide, flood or leak detection and temperature monitoring sensors add another layer of safety to home security.
- Alarms/sirens: More popular with commercial properties than residential, audible alarms and sirens can be added to some security systems for deterrent purposes.
- Automatic lighting: Motion-activated floodlights work with security cameras in areas such as backyards or near outbuildings to improve video quality and add a deterrent.
- Yard signs: Ranked ninth in deterrent value by criminals, yard signs still hold some value. However, fake security signs are commonly known and less likely to be effective.
- Key fobs and scanners: An alternative entry method for homeowners, key fobs work much like your work security badge and allow you to access your home without keypads or keys.
» EXPLORE: The best home security systems (2026 guide)
Tips for setting up your security system
Following security camera and alarm placement best practices helps improve your results. Camera height, sensor alignment and where to avoid cameras are all important. As a renter, you may need your landlord's permission before installing a system.
If you decide to use a security company to install your system, ask questions about its placement practices.
Main entries and garage
Your home’s main entries, including the garage and basement doors, are high priority for camera placements and open sensors. These cameras also serve as a strong deterrent because they are highly visible.
Placing smart doorbells between 36” and 48” high is generally recommended for front- and back-door coverage. Garage camera placement aims for visibility while remaining out of reach, approximately seven to 10 feet high and above the door.
For open sensors, follow your system’s recommended placements, as they vary by sensor type.
Ground floor windows
Wide-angle camera views that cover all or part of the side of your home are generally used to cover ground-floor windows. Camera placement usually runs between seven and 10 feet high to avoid tampering without creating difficult recording angles.
As with doors, best practices for open sensors vary by sensor manufacturer and window type.
Interior cameras
Interior security primarily focuses on common areas to preserve privacy. Living rooms, kitchens, mudrooms, hallways and entries are high priority for indoor cameras. Best practices for indoor camera placement include placing them at the junction of the wall and ceiling and avoiding facing backlit windows.
Motion sensors must be carefully calibrated to avoid multiple false alarms from pets or shadows of foliage moving in the wind seen through windows.
Outbuildings and yards
False motion alarms, proper lighting and neighbors’ properties top the concerns for outbuildings and yards. Because of privacy laws, take extra care when aiming security cameras that could otherwise record fenced back yards or interiors of neighbors’ homes through windows.
Avoiding false motion alarms from wildlife, pets and swaying trees requires careful aiming and calibration settings. Some areas, such as outbuildings, frequently need spotlight cameras or standalone motion-activated lighting to support security cameras.
Power and signals
Your security system relies on data and power. If devices are not battery-powered, they’ll need power wired in. If battery-powered, you’ll need to monitor battery levels and replace them as needed.
While some cameras use local storage on an SD card or internal storage, others use your home internet and the cloud. Wi-Fi or wired internet access is key to ensuring a reliable signal and security coverage.
» RELATED: Where to place security cameras
FAQ
Can you install your own security system?
Yes, you can install your own security system. However, complexity varies widely between systems.
Is it hard to install a DIY security system?
The difficulty of DIY security installation depends on the alarm system you choose. Many offer peel-and-stick installation, but others require wiring.
What tools do you need to install a home security system?
DIY security systems primarily only need a screwdriver for installation. More advanced systems can require drills and wiring skills.
Do DIY security systems require drilling holes?
Some DIY security systems require drilling holes for wires. Most offer simplified wireless installations using only a screwdriver.
Article sources
ConsumerAffairs writers primarily rely on government data, industry experts and original research from other reputable publications to inform their work. Specific sources for this article include:
- ResearchGate, "Understanding Decisions to Burglarize from the Offender's Perspective." Accessed April 24, 2026.