

Steps for packing liquids safely
When packing liquids for moving, take measures to prevent leaks and ensure items are contained in transit. Follow these steps when packing liquids for a move:
1. Sort and declutter
Start by going through all the liquids you plan to take with you and prioritizing the items you use regularly. Sort your liquids into categories, such as cleaning, toiletries and kitchen supplies.
Since moving liquids adds weight and increases the risk of leaks, minimizing what you bring can make packing safer and more efficient. Identify and toss any duplicates or extras you don’t need. Discard any expired products, liquids you no longer use and any opened items you don’t intend to finish before your move.
Keep it or toss it?
A good rule of thumb is, if you haven’t used it in the past three to six months and won’t need it immediately after your move, toss it.
2. Seal caps with plastic wrap
Placing plastic wrap over the opening of each container before tightening the cap can help. This creates an extra barrier that helps keep liquids from spilling, much like the original seal on an unopened bottle. You can further secure the cap with tape to keep it tightly closed.
3. Bag bottles
Place each liquid container inside a zip-top bag before packing. Press out as much air as possible, and seal the bag tightly to create a secure inner barrier in case a container spills or breaks. You can get even more protection by double-bagging any items that are especially full, fragile or prone to leaking by placing the first sealed bag inside a second one.
4. Use lined bins and pack items upright
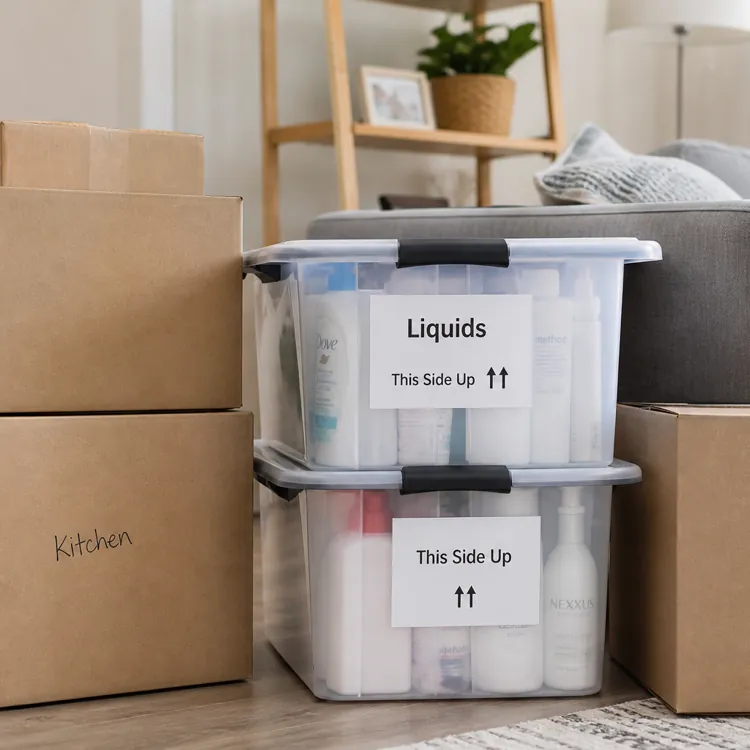
Once you’ve secured your sealed liquids in zip-top bags, pack them upright in lined bins. Not only will these minimize the risk of leaks, but they’ll also make cleanup easier if a leak occurs. Choose plastic bins with secure, tight-fitting lids to provide an added layer of protection.
Line the bottom of each bin with towels, paper, or absorbent packing material to cushion the containers and absorb any accidental spills. Arrange heavier items at the bottom and lighter containers on top to prevent crushing or tipping. Avoid overfilling the bin since shifting during transport can increase the chance of leaks or damage.
» MORE: Packing fragile items
5. Label boxes and load carefully
Clearly label bins containing liquids so they’ll be handled with care during the move. Write “Liquids” and “This Side Up” to remind movers to keep the containers upright and avoid unnecessary tilting.
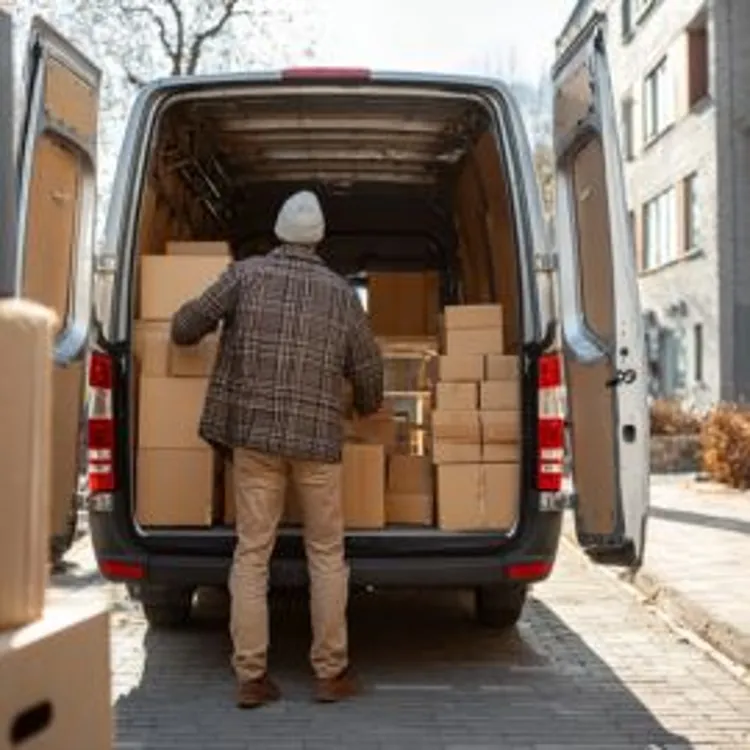
When loading the moving truck or vehicle, place the bins in a secure, stable area where they won’t shift during transit. Avoid stacking heavy items on top of them, and wedge the bins between sturdy boxes, furniture or towels to limit movement.
Packing materials for moving liquids
The right packing materials when moving liquids prevent leaks and damage.
Use plastic bins instead of cardboard boxes
Swapping cardboard boxes for plastic bins when moving liquids helps contain leaks during transit. Plastic bins are nonporous, won’t weaken if something spills and are easy to wipe clean.
Cardboard boxes absorb liquid, which can weaken their structure and increase the risk of collapse.
Choose the right materials to contain leaks
Successfully packing liquids for moving relies on combining the right materials into a complete leak-resistant system. Make sure the following items are in your toolkit:
- Plastic bags: Use heavy-duty trash bags to line bins or boxes as an outer protective layer. Place individual bottles inside resealable bags to contain small leaks at the source. Double-bag full or fragile containers for even more security.
- Sealing materials: Plastic wrap placed under caps creates an inner barrier. Packing tape can secure lids tightly, while rubber bands can provide extra reinforcement for loose closures.
- Cushioning materials: Towels, bubble cushioning wrap, packing paper or newspaper can be used to stabilize containers and absorb minor leaks. Towels are especially effective because they provide both padding and absorption.
- Labeling supplies: You’ll need to label boxes and bins to ensure careful handling and keep containers properly oriented during transport.
Must-have packing supplies
- Plastic bins
- Plastic wrap
- Tape or rubber bands
- Plastic garbage bags
- Zip-top bags
- Packing paper, bubble cushioning wrap or towels
- Permanent marker or labels
Liquids movers won’t transport
If you hire professional movers, it’s important to know that they may refuse to transport certain liquids. Prohibited liquids pose serious safety risks, including fire, explosions or chemical damage, and the Department of Transportation has laws that prohibit the transportation of hazardous materials.
Often, regulations prohibit movers from transporting the following:
| Liquid type | Why it’s restricted | What to do instead |
|---|---|---|
| Cleaning chemicals | Cleaning chemicals are prone to leaks and may be corrosive or toxic. Some products may even react with other materials during transport. | Use up what you can before moving. Dispose of hazardous cleaners according to local regulations, or transport small, tightly sealed containers yourself. |
| Aerosols | Pressurized containers can explode or leak under heat or pressure changes during transit. | Take these with you in a climate-controlled vehicle, or safely dispose of partially used cans before the move. |
| Fuels | Fuels are highly flammable and regulated under hazardous materials transportation laws. | Drain the equipment completely and transport it empty. Dispose of unused fuel at a designated hazardous waste facility. |
| Paints | Oil-based paints are flammable. Even water-based paints can leak and cause damage. | Properly seal and transport small amounts yourself, or donate usable paint. Dispose of unwanted paint at a local recycling or hazardous waste center. |
| Alcohol | Some states restrict alcohol transport across state lines. Glass bottles pose a breakage risk. | Transport limited quantities yourself, properly padded and sealed. Be sure to check state laws for interstate moves. |
| Pesticides | Toxic and regulated as hazardous materials, pesticides pose health and environmental risks. | Dispose of unwanted pesticides at an approved hazardous waste facility. Avoid transporting opened containers. |
| Propane | Extremely flammable and pressurized; regulated under federal transportation laws. | Return tanks to suppliers, exchange them or transport only empty cylinders in compliance with local regulations. |
Federal regulations limit what movers can transport, but specific policies vary by company and by type of move. Check with the company you’re working with before moving liquids.
» MORE: Top-ranked moving companies
How to tell if a liquid is safe to move
If you’re unsure whether a liquid can go on the truck, check for:
- Hazard warning labels (“Flammable,” “Corrosive” or “Toxic”)
- U.S. Department of Transportation hazard symbols
- Labels that say “Combustible” or “Pressurized”
- Strong fumes or chemical odors
- Damaged or poorly sealed containers
When in doubt, ask your mover directly. Bringing restricted items onto a moving truck without disclosure can void coverage or result in service being refused on moving day.
What to do with restricted liquids
Try to use up restricted liquids before your move. Use cleaning supplies while preparing your old home and apply leftover paint for touch-ups. Dispose of anything you can’t use safely, then buy replacements after you move.
Some items may be safe to transport in your personal vehicle, but check the product label and applicable local laws first.
You may also be able to donate unopened, usable products to friends, family or local organizations. Take hazardous liquids to an approved household hazardous waste facility, and return or exchange propane tanks before moving.
Disposing of unwanted household liquids
If you have leftover unwanted liquids, disposing of them properly before your move can save time and prevent complications.
How to properly dispose of nonhazardous liquids before a move
Dispose of nonhazardous liquids, like water, cooking oil, shampoo and soap, by pouring them out according to local wastewater guidelines. Empty containers and rinse them before recycling or discarding.
How to properly dispose of hazardous liquids before a move
Hazardous liquids like bleach, harsh cleaning solutions, paint, pesticides and other chemical-based products require careful disposal. Never pour hazardous substances down the drain because they can cause serious environmental and infrastructure issues.
Most local regulations recommend using approved hazardous waste facilities for chemical disposal. Communities often offer permanent collection centers or designated drop-off days where you can safely dispose of hazardous chemicals before your move.
FAQ
What liquids can you not move?
Most movers will not transport hazardous, flammable, corrosive or pressurized liquids such as gasoline, propane, paint thinner, bleach, ammonia, pesticides and aerosol products. Many companies also restrict open or partially used liquid containers due to spill risks.
How do you pack toiletries when moving?
Seal containers tightly, add plastic wrap under caps for extra protection and place each item in a sealed zip-top bag. Pack them upright in a lined, sturdy bin with cushioning materials, like towels or honeycomb paper.
What is the best container for packing liquids?
Heavy-duty plastic bins with secure lids are the best option because they are nonporous, leak-resistant and durable during transit. They also help contain spills and are easier to clean than cardboard boxes.
Why should you use plastic bins instead of cardboard boxes for liquids?
Plastic bins can contain spills without weakening, while cardboard absorbs liquid and loses structural integrity. This makes plastic bins significantly safer for transporting liquids during a move.
Article sources
ConsumerAffairs writers primarily rely on government data, industry experts and original research from other reputable publications to inform their work. Specific sources for this article include:
- UCLA Environment, Health & Safety, "Safe Chemical Disposal: Keep Harmful Substances out of the Drain." Accessed May 6, 2026.
- MLI Environmental, "Negative Effects of Pouring Chemicals Down the Drain." Accessed May 6, 2026.
- United States Environmental Protection Agency, "Hazardous Waste Transportation." Accessed May 6, 2026.
- U.Santini Moving & Storage, "How to Pack Liquids for Moving: A Step-by-Step Guide to Prevent Spills." Accessed May 6, 2026.
- Move, Inc., "6 Quick Tips for Packing Liquids." Accessed May 6, 2026.