

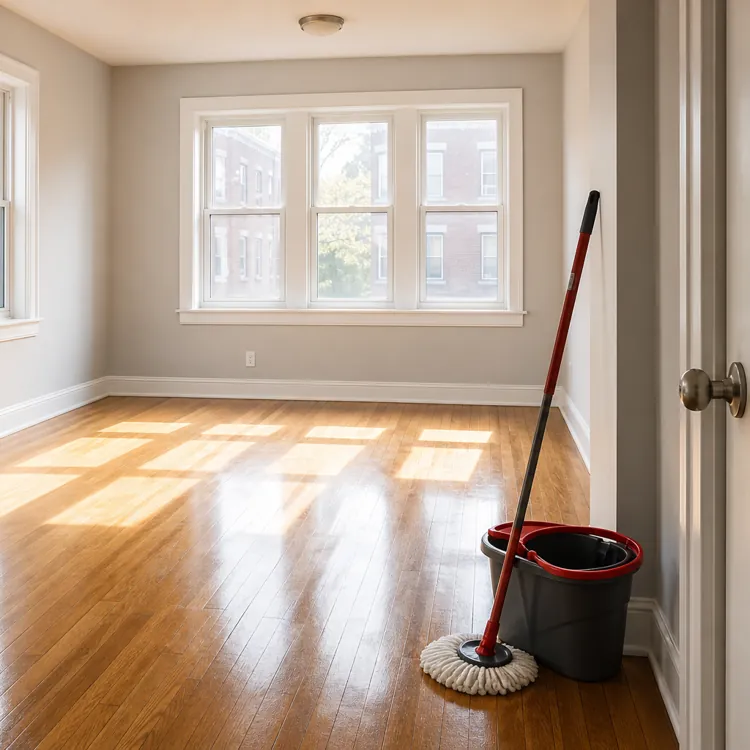
6 cleaning steps for moving out
Start by decluttering your belongings, then gather the supplies and equipment you’ll need to deep clean your place. Carve out time ahead of your moving day to start tackling the tasks on your cleaning checklist.
For the best results, your final deep clean should happen after you've removed all your belongings and before your final walk-through. Cleaning an empty home gives you full access to trim, floors and corners that are easy to miss when furniture or boxes are in the way.
» HIRING HELP? Best moving companies
1. Declutter and organize
The more you declutter, the less you need to pack — and the easier cleaning becomes.
Start by sorting through your clothes and books (these can take up a lot of precious space in boxes). Prepare three boxes or bags labeled “donate,” “keep” and “throw away.” Decide where each item you grab should go.
You can also focus your decluttering attention on certain rooms, like the bathroom and the kitchen. Throw away any expired food or personal care items to save space in moving boxes. Save sentimental items, like photos or gifts, for last since they can take a great deal of energy to sort through.
» MORE: Moving checklist
2. Gather cleaning supplies
You don’t need specialty cleaning products to get the job done. At a minimum, you’ll need an all-purpose cleaner, some microfiber cloth or paper towels, two sets of cleaning gloves (one for the bathroom and one for the kitchen), toilet bowl cleaner and a toilet brush, and a scrub brush to remove dirt and grime from surfaces.
You’ll also need a vacuum and a mop to clean the floors. If you have different floor surfaces, like tile and hardwood, you might grab a multi-surface floor cleaner. Otherwise, it’s best to mop with solutions specifically formulated for your floor type to avoid damaging the surface.
These are optional but helpful:
- Extra cleaning brushes
- Baking soda and white vinegar
- Duster
3. Dust and wipe down surfaces
Before you pull out the cleaning solution and rags, make sure to dust all surfaces (like countertops, especially in bathrooms). This will keep those large clumps of dust from gathering on your wet cleaning cloths. You may want to use a microfiber duster to pick up dust rather than sweeping it back into the air.
Don’t forget commonly overlooked areas, like light fixtures and ceiling fans. Even baseboards and window blinds are magnets for dust.
Once you’ve dusted, wipe down the surfaces with a cleaner and a towel or cloth. If you’re using a new-to-you cleaning solution, make sure to test it on a small portion of a countertop. Harsh chemicals should never be used on stone surfaces like granite or marble.
4. Clean appliances
Cleaning the kitchen may take the most time, so be prepared to allot at least a few hours for this task. You can get some areas of the kitchen sparkling clean well before moving day, making your move-out cleaning list much easier to manage.
Cleaning the oven
You can use several methods to clean an oven. There’s a self-cleaning feature that uses high heat to burn off food residue. This can take hours to complete and still requires a wipe-down afterward — and keep in mind that your house will get warm and the air may get smoky, so you’ll need to open windows and run fans to provide some ventilation.
If you don’t want your house to heat up, try spot-cleaning the oven with a homemade cleaning paste. Melissa Caverly, founder of Imagine Maids, a residential and commercial cleaning services company, gave us this advice: “First, remove any racks or shelves from the oven and set them aside. Next, mix baking soda and water to form a paste, apply it to oven interior surfaces, and let it sit for several hours or overnight to break down tough stains and grime.”
Then, she said, “Clean the oven using a damp cloth or sponge, starting from the top, to prevent water from dripping onto the heating elements. Rinse with warm water and dry with a soft cloth.”
Don’t forget to wipe down the stovetop after the oven is clean. If you have a glass stovetop, you can wipe it down with an all-purpose cleaner. You may need to use a polish to buff out the surface, which can help the stovetop shine after cleaning.
Clean the oven using a damp cloth or sponge, starting from the top, to prevent water from dripping onto the heating elements. Rinse with warm water and dry with a soft cloth.”
If the stove has heating coils, you may need to remove them and hand-wash the metal pans beneath to remove food or grease. Don’t submerge the heating coils in water, though; only spot-clean with a damp sponge.
Cleaning the refrigerator
Consider cleaning the fridge and freezer closer to move-out day so you won’t have as much food to deal with. Once you’ve removed the food containers, use a handheld vacuum to pick up crumbs and dirt. Next, take a warm, damp cloth or sponge soaked in a mixture of dish soap and water to wipe down the surfaces. Dry with a towel before putting items back on the shelves.
Cleaning the microwave
The easiest way to clean a microwave is to use steam to break up set-in food. Grab a microwave-safe glass bowl or a glass measuring cup and fill it with two cups of water. Add two tablespoons of white vinegar to the mixture.
Set the dish in the center of the microwave and heat on high for five minutes. After the time is up, leave the microwave door closed for another two minutes or so. Then, you can open the door and easily wipe down the interior with a dry cloth.
Cleaning the washer and dryer
Dust the washer and dryer surface with a microfiber cloth or duster. You may not need to wipe it down with a damp cloth unless you see detergent stains or debris. Empty the dryer’s lint trap as well.
5. Tackle the bathroom
It’s important to make sure the bathrooms are especially clean before a move-out inspection. Start by cleaning the toilets and showers so the cleaning solutions can set in while you wipe down other bathroom surfaces.
Toilets
Apply a toilet bowl cleaner along the inside rim. Most of these require a few minutes to set in before you begin scrubbing, but check the directions. Give the inside of the bowl a scrub with a toilet brush, paying attention to the hard-to-reach area just below the rim. Flush to remove the cleaning solution.
Spray the seat with an all-purpose cleaner and wipe with a paper towel. Spray and wipe the top of the toilet, which can collect dust over time.
Tubs and showers
Spray the tub or shower with an all-purpose cleaner or a shower cleaner formulated for specific surfaces (like stone tile). Let the solution sit for five to 10 minutes, then wipe with a cloth. If there’s hard-to-remove soap scum, you might need a heavy-duty cleaner with a foaming formula and/or a cleaning brush. Rinse the surface with warm water.
For shower doors, make sure to clean the inside and the bottom rim, where mold and mildew can build up. A toothbrush is handy for corners and rims.
Sinks
Bathroom counters can get pretty dusty, so before you clean them, take a duster and remove any accumulated dust. Then you can wipe down the counters: A warm, damp cloth is great because it easily removes toothpaste and other stains.
You can finish by spraying an all-purpose cleaner on the counters and wiping them down with a microfiber cloth. Don’t forget to clean the mirrors, too.
6. Clean floors and carpets
Floor cleaning strategies depend on your type of flooring. For the most part, you’ll need to vacuum the carpets and mop hard floors. Note that hardwood floors may be the most susceptible to damage from harsh cleaning solutions. Carlos Garcia, group managing director for Total Clean, a commercial cleaning company, suggests looking for a pH-neutral cleaner that’s safe for your type of wood flooring.
Try a white vinegar and water solution for stubborn carpet stains.
To get linoleum or tile flooring in your bathroom and kitchen sparkling clean, try a mixture of all-purpose cleaner and warm water. Soak the mop head, wring or spin out the excess water, then apply it to the floors. The warm water helps to break up dirt or other set-in stains.
It’s also a good idea to steam clean your carpet — you can rent carpet-cleaning appliances from some retail or grocery stores.
For set-in stains, try a carpet spot remover. As Garcia explained, “One effective method to get rid of stubborn carpet stains is to create a homemade carpet cleaner by mixing equal parts white vinegar and water. Apply the solution to the stain and blot it gently with a clean cloth or sponge. Avoid rubbing vigorously, as it can damage the carpet [fibers]. Repeat this process until the stain fades away.”
If the carpet needs more than just a refresher, consider hiring a professional to steam-clean it. Otherwise, your landlord may charge you for these services after you move out.
Getting your deposit back
Even a thorough cleaning can fall short if you don’t think like a landlord. Property managers tend to zero in on certain problem areas, and if those aren’t handled, you could see deductions from your security deposit. Being proactive about documenting your efforts and addressing the most scrutinized spots can save you money and headaches at move-out.
Documenting your clean
Before you hand over the keys, take time to document your cleaning work. Snap photos of every room once you’ve finished, especially high-traffic areas like kitchens and bathrooms.
If you hired a professional cleaning service, hold on to receipts as proof. This documentation creates a record that you left the property in good condition, which can be invaluable if there’s a dispute over your deposit later.
Areas landlords inspect most closely
Landlords usually inspect certain areas more carefully than others. Common hot spots include:
- Kitchens: Ovens, stovetops, refrigerators and cabinets should be free of grease, grime and crumbs.
- Bathrooms: Toilets, tubs, sinks and shower doors need to be scrubbed thoroughly.
- Floors and carpets: Expect landlords to check for stains, pet odors and dirt buildup.
- Walls and baseboards: Scuffs, holes and sticky residue often draw attention.
- Windows and blinds: Streaks, dust and dirt are easy to spot in natural light.
Focusing on these areas before your inspection makes it much more likely you’ll get your full deposit back.
FAQ
How much does move-out cleaning usually cost?
Move-out cleaning costs vary with your home's size and the level of service you need. Expect to pay anywhere from $175 to $500 or more for a larger or dirtier home. Some landlords even require professional cleaning with a receipt as proof, so check your lease before deciding whether to DIY.
When should I schedule move-out cleaning?
It’s best to schedule move-out cleaning for after you’ve removed all your belongings but before your final walk-through with the landlord. This ensures the space is completely empty and easy to clean thoroughly. If you’re hiring professionals, try to book at least a week in advance to secure your preferred time slot, especially during busy moving seasons.
» COMPARE: Moving yourself vs. hiring movers
How long does move-out cleaning take?
On average, move-out cleaning takes several hours. A studio might only need two to three hours, while a multi-bedroom home could require a full day. Hiring professionals usually speeds up the process, since a team can finish in half the time it would take to do it yourself.
Do landlords require professional move-out cleaning?
Not always, but some do. Your lease may state whether you need to hire a professional cleaning service or simply return the property in “broom-clean” condition. If professional cleaning is required, your landlord may ask for a receipt.
What’s the difference between move-out cleaning and regular house cleaning?
Move-out cleaning is more thorough than day-to-day housekeeping. It usually includes deep-cleaning tasks like scrubbing the oven, washing baseboards, wiping down walls and steam-cleaning carpets — all to bring the property back to its original condition.
Do I need to clean the garage and outdoor areas too?
Check with your landlord or property manager for specific cleaning tasks. You’ll need to remove all trash from inside and outside to avoid fees. Stacy Brown, vice president of property management enablement at Real Property Management, told us: “Remember, curb appeal means a lot to landlords. Sweep the entryways and make sure the home looks good on the outside too.”
Once the garage is cleared out, sweep the floor thoroughly with a heavy-duty broom. If there are stains on the floor, it may be a good idea to mop those areas in particular. In some cases, you could use a pressure washer to clean the garage floor. Exercise caution, though. You don’t want to spray the drywall or ceiling.
Article sources
ConsumerAffairs writers primarily rely on government data, industry experts and original research from other reputable publications to inform their work. Specific sources for this article include:
- Whirlpool, “How Does a Self-Cleaning Oven Work & How Do You Use It?” Accessed June 30, 2026.
- The Association for Cleaning and Facility Solutions, “Residential Cleaning.” Accessed June 30, 2026.