Gather essential packing materials
Packing a drum set can be tricky because it has many fragile, heavy and awkward parts that require careful individual packing. It’s important to gather the correct packing materials before you begin to prevent damage during the move.
You can purchase most of these materials at local stores or online. Since drum sets are heavy (a 5-piece set typically weighs between 60 and 70 pounds), it is critical to use new, heavy-duty double-walled cardboard boxes to safely bear the weight.
Packing materials you’ll need:
- Heavy-duty boxes in various sizes: Measure the diameter of your largest drum (usually the bass drum) and select a box that is approximately 4 inches larger (2 inches on each side). This extra room is important for adding cushioning material.
- Flat cardboard box: Use this to pack the drum heads.
- Cardboard box scraps: These will be cut into divider pieces to separate items within the boxes.
- Roll of heavy-duty brown craft paper: This thicker paper offers superior protection for wrapping. While regular packing paper works, you may need to use more sheets.
- Cushioning material: Use this to wrap delicate components of the drum set.
- Stretch wrap (optional): An alternative to packing tape for securing cushioning material around items.
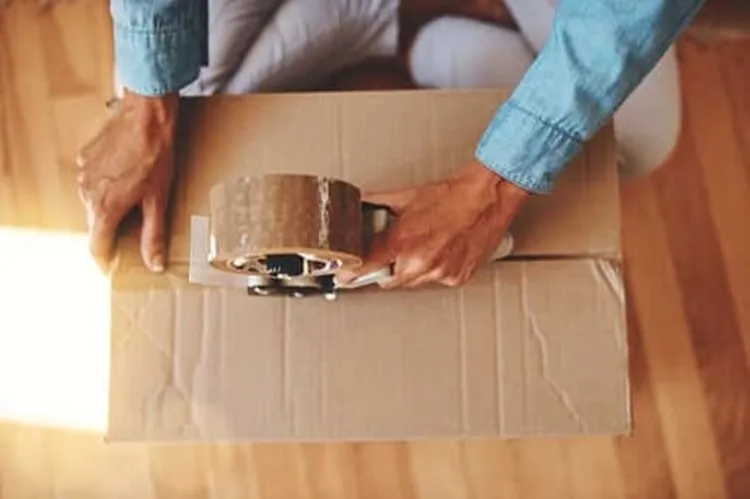
- Packing tape: For sealing boxes and securing all packing materials.
- Box cutter: Necessary for cutting cardboard dividers and adjusting box sizes.
- Drum key: A specialized tool needed to disassemble the drum set.
- Packing peanuts or other cushioning material: Options include foam pads or air pillows, used to fill gaps and protect the contents.
- Sealable bag: For organizing and storing small parts and hardware (like screws, tension rods, etc.).
- Permanent marker: For clearly labeling the box’s contents
» DO IT RIGHT: How to pack for a move
Disassemble and protect each drum
Disassembling a drum set before a move prevents damage to the shells and hardware during transit. Carefully protecting each component with appropriate padding ensures the instrument arrives safely and undamaged at its new location.
Here are a few simple steps to disassemble a drum set:
- Remove legs and tom holder: Release the legs from the floor tom and the tom holder by loosening the wing nuts or clamps, sliding the parts out and setting them aside with the tension rods. Place small hardware in a labeled sealable bag.
- Pack bass drum hoops and heads: Use a drum key to remove the bass drum hoops from the heads. Wrap both the hoops and heads in cushioning material (bubbles facing inward) and secure with tape. Place the wrapped drum heads into a flat cardboard box, then slide the hoops back on the base.
- Protect drum shells: Wrap the outside of the bass drum, floor toms and rack toms with two overlapping layers of cushioning material, securing with tape. Then, line the outside of the material with scrap pieces of cardboard and secure those with tape.
Use the nesting packing technique
When packing the disassembled drum set, use the nesting technique by placing smaller drums inside larger ones. This method saves space, minimizes movement within the box and protects the vulnerable shell edges of the drums.
Here’s how to nest the drum set:
- Prepare the bass drum box: Line the bottom of the bass drum box with several layers of cushioning material, followed by a piece of scrap cardboard. Cut additional cardboard pieces to line the box walls, extending just above the height of the bass drum.
- Nest the bass drum and floor tom: Place the wrapped bass drum shell inside the prepared box. Line the interior of the bass drum shell with cardboard strips before placing the floor tom inside it.
- Nest and pack the rack tom: Remove one drum head from the floor tom. Wrap the rack tom in cushioning material and place it inside the floor tom shell.
» RELATED: How to pack fragile items for moving
Securely pack drum hardware
Although wrapped hardware can be placed in the same box as the drums, it is better to pack it separately to prevent potential damage to the drum shells during transit.
To pack the tension rods, lay half of them flat (without overlapping) onto a piece of cushioning material. Then wrap all sides and secure the bundle with packing tape. Repeat for the remaining rods.
Finally, place both tension rod bundles and the sealable bag containing any small parts into a box, then fill any remaining void space with crumpled packing paper or other cushioning material. You can also place the floor legs in this box. Just be sure to wrap each leg in packing paper.
Seal and label the boxes
Avoid overloading the main drum box, as the combined weight of nested shells can be heavy, potentially causing the box to collapse during transit. If necessary, use multiple boxes to safely distribute the weight.
Additionally, proper sealing and labeling are essential: clearly marking the box with "FRAGILE" and "THIS SIDE UP" alerts movers to handle the valuable contents with the necessary care.
Before sealing the boxes, follow these steps:
- Fill void space: Crumple packing paper and fill all empty space between the nested drums to prevent movement or sliding within the box.
- Reinstall floor tom head: Securely reattach the floor tom head.
- Place drum heads: Position the flat cardboard box containing the drum heads on top of the nested drums.
- Adjust box height: If necessary, use a box cutter to trim the box height, leaving a maximum of two inches of space for the final padding layer.
- Seal and label: Securely seal the box with multiple layers of packing tape, ensuring it can withstand the weight. Label the box clearly with “FRAGILE” and “THIS SIDE UP.”
» COMPARE: Best moving companies
FAQ
Is it better to use drum cases or bags for moving?
Yes, using specialty drum cases is the best option for moving because they offer superior protection against damage, particularly for long-distance moves. However, if cases aren’t available, the nesting technique inside cardboard boxes can also be used to protect your equipment.
What should you do if a drum gets damaged during the move?
If your drum set is damaged during a move, immediately contact the moving company and document the damage with photos. For DIY moves, you can address minor damage yourself or contact a local music store or repair technician for complex repairs.
How can you ensure the safety of cymbals during moving?
You should pack cymbals in a separate box from the rest of the drum set. Wrap each cymbal individually in cushioning material before stacking them flat inside a cardboard box that is only slightly larger than the cymbal's diameter. Then, fill any space within the box with crumpled packing paper.
What are the best practices for using a moving company to transport drums?
To ensure your fragile drums arrive undamaged, inform your moving company of the contents, label the boxes clearly, and fill all empty spaces within the boxes to prevent shifting.
Article sources
ConsumerAffairs writers primarily rely on government data, industry experts and original research from other reputable publications to inform their work. Specific sources for this article include:
- Best of Utah Moving & Storage, “How to Pack a Drum Set for Moving: Protect Your Gear.” Accessed Dec. 4, 2025.
- Cross Country Movers, “March to Your New Home - Mastering How To Pack Drums for Moving.” Accessed Dec. 4, 2025.
- Drumming Insider, “How Much Does a Drum Set Weigh?” Accessed Dec. 4, 2025.
- How to Ship, “How To Ship Cymbals.” Accessed Dec. 4, 2025.
- SoundPure, “How to Pack a Drum Set.” Accessed Dec. 4, 2025.