Moving a freezer by yourself step-by-step
If you choose to move a freezer by yourself, you should take multiple steps to reduce the risk of personal injury or appliance damage. This multi-day process involves preparing the freezer for transport, securing it firmly in the moving vehicle and installing it at its new destination. Keep in mind that depending on the freezer’s age, condition and available space, hiring a professional mover might be the safer option, however.
Chest and upright freezers each present their own set of challenges. Upright freezers occupy a smaller footprint but can easily tip over during transport. Chest freezers have a lower center of gravity, but navigating them through doorways and down stairs can be more difficult.
1. Decide if the freezer is worth moving
Before renting a moving truck and dolly, consider whether moving the freezer makes sense. Older or broken freezers may not justify the effort. If you have a relatively new and operational freezer, ensure you have enough room, or consider using the freezer already installed in your new home, if applicable.
2. Empty all food and contents
If you decide to move your freezer, empty its contents so it’s lighter and easier to move. Transfer perishable items to another freezer if possible, and throw away any expired food.
3. Defrost the freezer completely
Defrost your freezer at least 24 to 48 hours before you plan to move it. If your freezer doesn’t have a built-in defrost setting, unplug it and prop the door open. Place a container beneath the freezer to catch any water that drains.
4. Clean and dry the interior
Clean the inside of the freezer with a soft sponge and hot, soapy water, then allow it to dry completely. Remove any shelving or drawers, and clean and dry them thoroughly. Transport shelves separately if space allows.
5. Unplug and secure the power cord
If you haven’t already, unplug your freezer and secure the power cord to prevent damage during transport. Run the power cord along the length of the freezer, then secure the plug with a few strips of masking tape or painter’s tape to avoid marring the surface.
6. Remove shelves and drawers
On the day of the move, remove any shelves or drawers from the freezer’s interior. Pack them securely in a separate box using bubble wrap or a soft moving blanket.
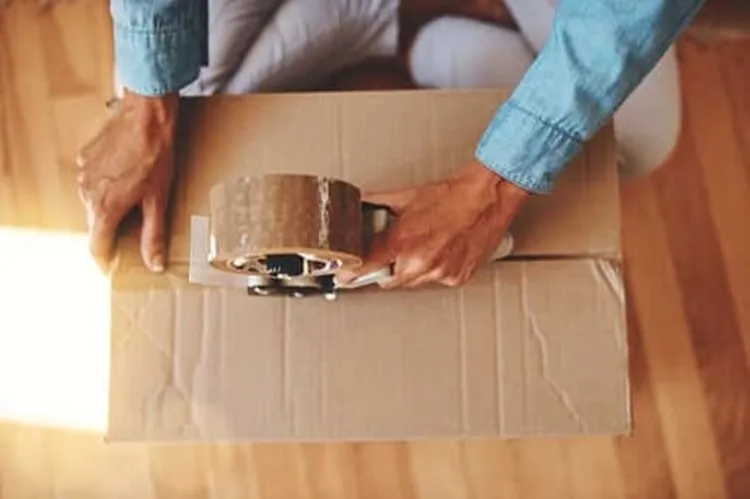
7. Tape or strap the door shut
Secure the freezer door with several pieces of tape or ratchet straps along its length. Minimize chances of the door opening unexpectedly during transport to avoid personal injury and damage to the freezer.
8. Measure your moving path
Moving your freezer safely requires a clear path from your home to the moving vehicle. Measure any doors, hallways or stairs you’ll navigate along the route to ensure they’re wide enough.
If you plan on moving the freezer into the inner part of your new home (as opposed to the garage), measure the moving path there, too. Note any tight turns, especially if the dolly sticks out from the freezer’s footprint.
9. Position the appliance dolly
After moving the freezer away from the wall, orient the appliance dolly on the side of the freezer opposite the hinges. Keeping the freezer upright, tilt it gently and carefully away from you, sliding the dolly underneath as you do so. Lower the freezer onto the dolly so it sits snugly against the dolly frame.
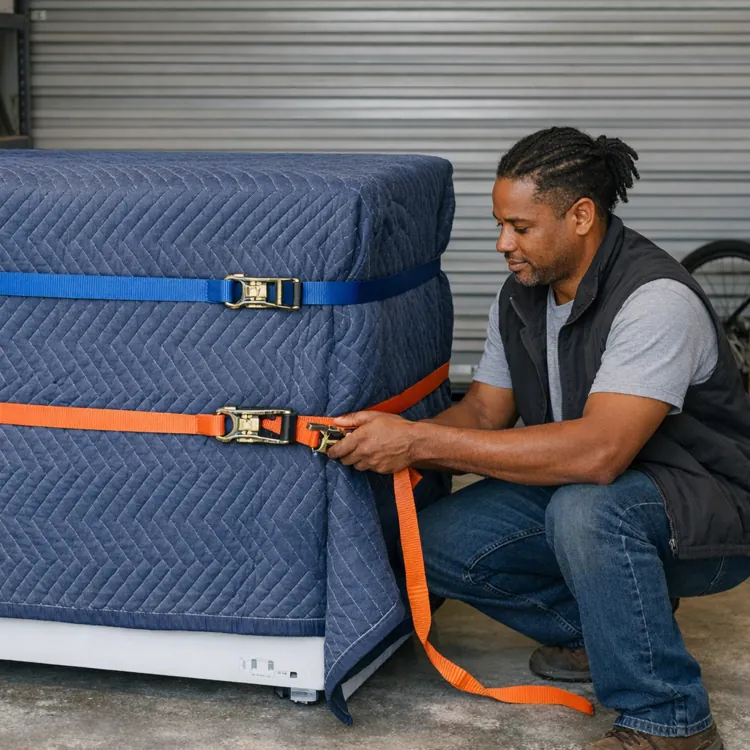
10. Secure the freezer with straps
Most appliance dollies have built-in straps long enough to secure the freezer safely to the dolly’s frame. If you’re concerned about scratching the freezer’s exterior, wrap it in a moving blanket before cinching the dolly straps around it. Ensure the straps are tight to prevent the freezer from sliding around during transport.
11. Move slowly and keep it upright
After strapping the freezer securely to the dolly, slowly tip both back toward you, keeping them as upright as possible. Move carefully through your home and avoid sudden turns, bumps or steep tilts that could shift the unit’s weight. If you need to stop, gently lower the freezer while bracing a foot on the back of the dolly to prevent it from sliding back toward you.
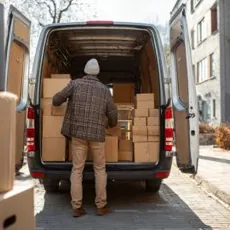
12. Load and secure in the vehicle
Carefully load your freezer into the moving vehicle by walking up the built-in ramp and pulling it behind you. Should the freezer tip or come loose from the dolly, you won’t be in its path.
Ensure that wherever you place the freezer in the moving van, its weight is equally distributed. Secure the freezer with moving straps to keep it stable and upright during transit.
13. Unload at the destination
When you arrive, unload the freezer using the same techniques you used to transport it from the house to the moving truck. Ensure the freezer stays upright as you slowly and carefully lower it down the moving ramp, steering from behind. Once you’ve set the freezer close to its final position, lower it slowly before removing the straps and any moving blankets you used, if applicable.
14. Let it settle before plugging in
As you maneuver the freezer into position, ensure it’s level. If the freezer stayed relatively upright during the move, wait at least one to four hours before plugging it in. If you had to tilt it or lay it down, wait at least 24 hours.
Freezer moving supplies and equipment
Essential moving supplies and equipment ensure your safety, protect your home, and streamline the freezer moving process, making it less stressful overall. Before you begin, gather the following items:
- Appliance and furniture dollies: Appliance dollies work for upright and chest freezers, while furniture dollies also work well for moving chest freezers across flat ground.
- Ratchet straps and tie downs: Secure the freezer to the dolly and inside the moving vehicle to prevent shifting or tipping.
- Moving blankets: Protect the freezer’s exterior from scratches, dents and scuffs.
- Furniture pads and sliders: Help prevent floor damage and make it easier to move the freezer away from walls.
- Heavy-duty gloves: Improve your grip and protect your hands while lifting and maneuvering the freezer.
- Packing tape: Keep cords, removable parts and protective materials in place.
- Stretch wrap: Secure doors and hold blankets or pads in place during transport.
- Tape measure: Ensure the freezer fits through doorways, hallways and vehicle openings.
- Towels: Absorb water from defrosting to prevent slips or water-related damage.
- Shoulder dollies or lifting straps: These optional tools can distribute weight and provide extra support when team lifting.
Many local truck rental companies offer dollies and other moving equipment for rent. You can purchase smaller supplies and protective materials online, from a home improvement store or from a moving-supply retailer.
Moving a freezer on stairs
Moving a freezer up or down stairs requires specialized techniques to avoid personal injury. If you don’t feel comfortable navigating stairs while moving a freezer, it’s best to hire a professional moving service.
Should you decide to move your freezer up or down the stairs yourself, it’s critical to have at least one helper; don’t attempt this solo. Use proper techniques to reduce the risk of injury, such as controlling weight distribution, keeping the freezer upright and tipping it carefully when necessary.
Moving a freezer from or to a basement can present extra challenges, including navigating narrow stairwells and low ceilings. In some cases, alternative solutions such as using exterior basement access or removing a window can make moving the freezer safer and more manageable.
Checklist: Restarting the freezer after moving
After relocating a freezer, it’s important to perform a few post-move checks before plugging it in and restocking it with food. Similar to moving a refrigerator, moving a freezer involves allowing the compressor oil to settle back into place and monitoring the unit to ensure it runs properly. Use the checklist below to help your freezer recover from the move and avoid potential damage.
- Leveling: Ensure optimal performance by leveling the freezer after installation.
- Temperature monitoring: Set the freezer to the recommended temperature and monitor it during the first 24 hours to ensure it reaches 0 degrees Fahrenheit.
- Safe food loading: Wait four to six hours after the freezer reaches 0 degrees Fahrenheit before adding food.
- Inspect for damage: Check the freezer for visible damage, loose components, leaks or unusual noises (such as buzzing, knocking or clicking).
- Check the door seal: Make sure the door seals to the freezer frame.
- Monitor the compressor: Ensure the back of the freezer isn’t excessively hot (above 200 degrees Fahrenheit), and monitor for chemical odors, constant cycling and failure to turn on or reach freezing temperatures.
Most warranties do not cover accidental or cosmetic damage, improper installation or normal wear and tear, any of which can occur during a move. If your freezer is protected by warranty, review the warranty carefully to understand your coverage.
FAQ
Is it OK to lay a freezer down to move it?
It’s best to keep a freezer upright during a move rather than laying it down, to ensure the compressor oil doesn’t leak into the refrigerant lines and cause blockages or damage.
Can you move a freezer without defrosting it?
Moving a freezer without defrosting it is not recommended. The ice inside the freezer can melt, causing leaks or spills that create unsafe conditions.
How long should I wait to plug in a freezer after moving it?
You should wait one to four hours to plug a freezer in after moving it if you kept it mostly upright during the move. If you tilted it, you should wait up to 24 hours to plug it in.
How do you move a chest freezer by yourself?
You can move a chest freezer yourself using an appliance dolly for most applications, or a furniture dolly on flat surfaces. Keep the freezer upright as much as possible, and have at least one helper for lifting or navigating stairs.
What happens if you don’t let a freezer settle after moving?
Plugging in a freezer too soon after moving can cause compressor damage, prevent proper cooling and reduce the freezer’s lifespan.
Article sources
ConsumerAffairs writers primarily rely on government data, industry experts and original research from other reputable publications to inform their work. Specific sources for this article include:
- Last Stop Moving, “How Long to Wait to Plug In the Freezer After Moving?” Accessed March 21, 2026.
- Edson’s Movers, “Upright Freezers: Transport & Restart.” Accessed March 21, 2026.
- Uptown Appliance Repair, “Understanding Appliance Warranties: What’s Covered & What’s Not.” Accessed March 21, 2026.